
Overview
In this tutorial, you will learn how to write custom SpecterScripts to customize or augment the ones provided out-of-the-box. A SpecterScript is just a PowerShell script that can reference the built-in cmdlets provided by the Specter host environment.
Write a Basic SpecterScript
Let’s say you need a basic command to find all Microsoft Office documents that have been recently edited by users on the system. How do you get that information using SpecterInsight? The best and most repeatable way is to create a SpecterScript.
Draft the Script
The recommended way to create a SpecterScript is to first write and test most of the script in a local development environment like the PowerShell Integrated Scripting Environment (ISE).
If your script needs something from the Specter runtime environment, then the best way to do that is to spin up a Specter and write your script by tasking a Specter through an interactive session.
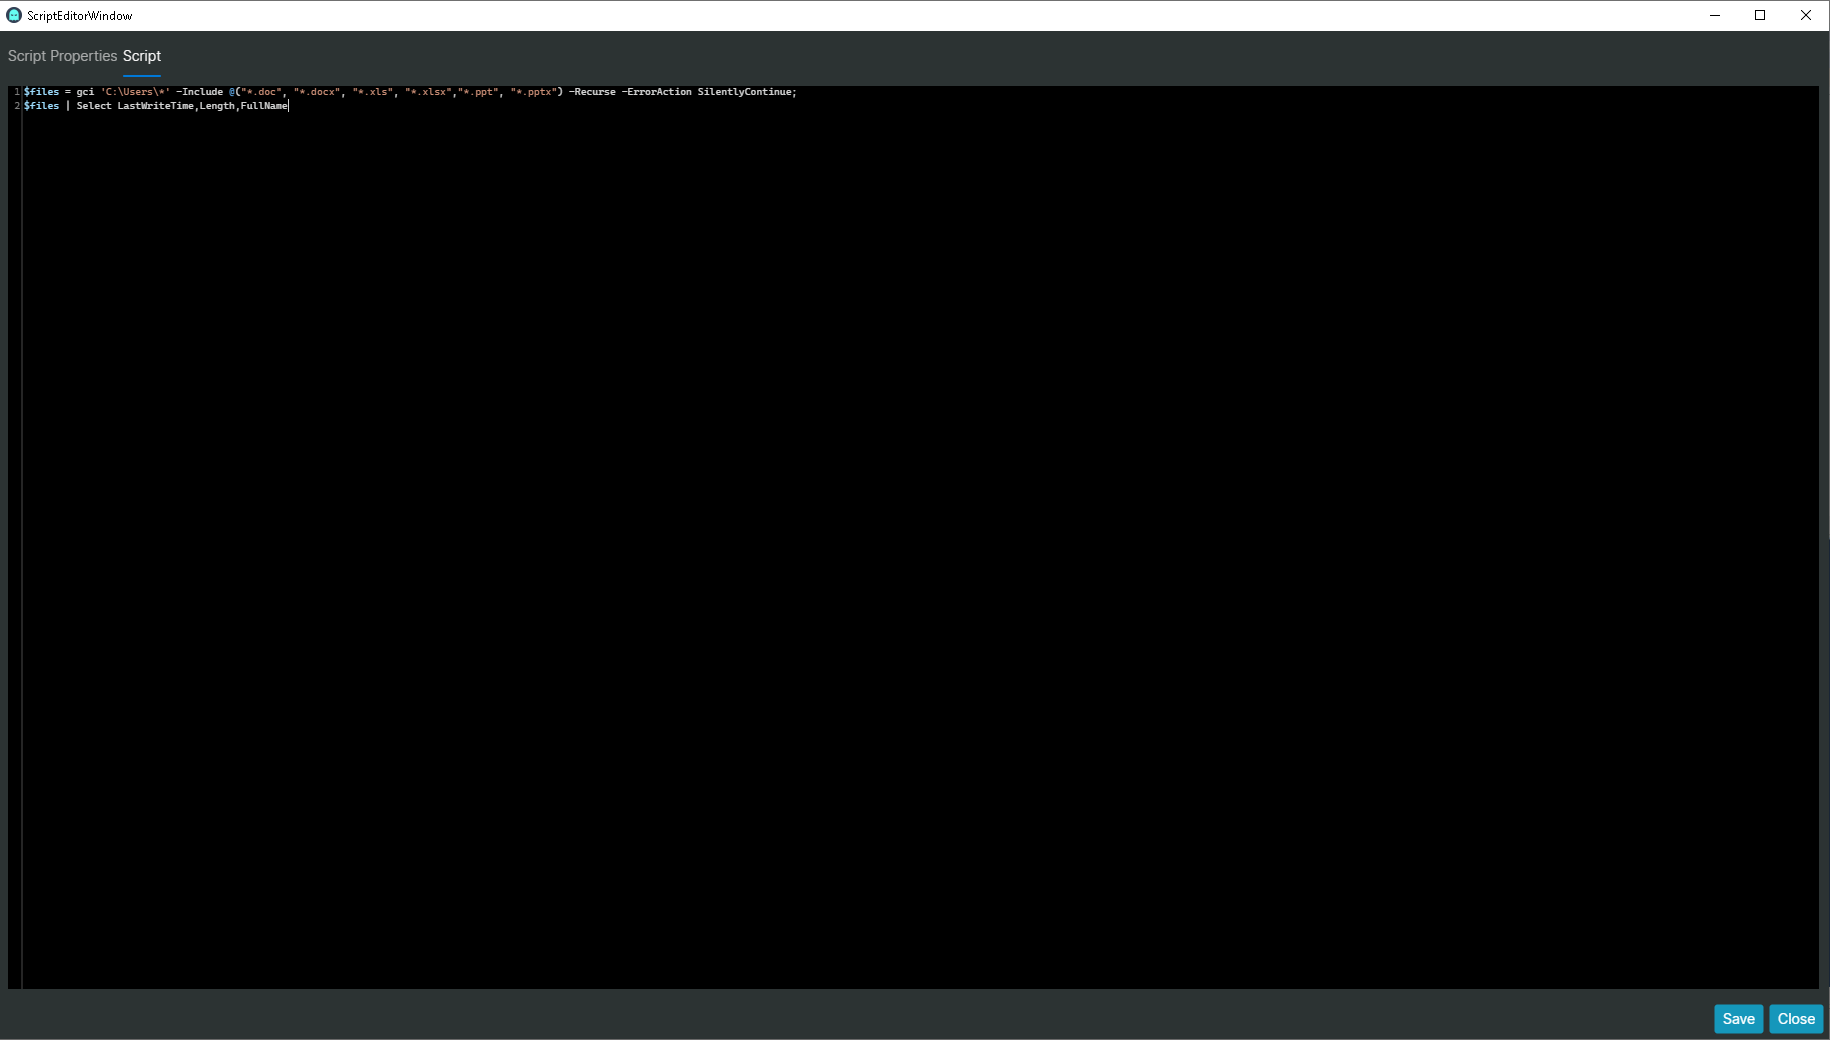
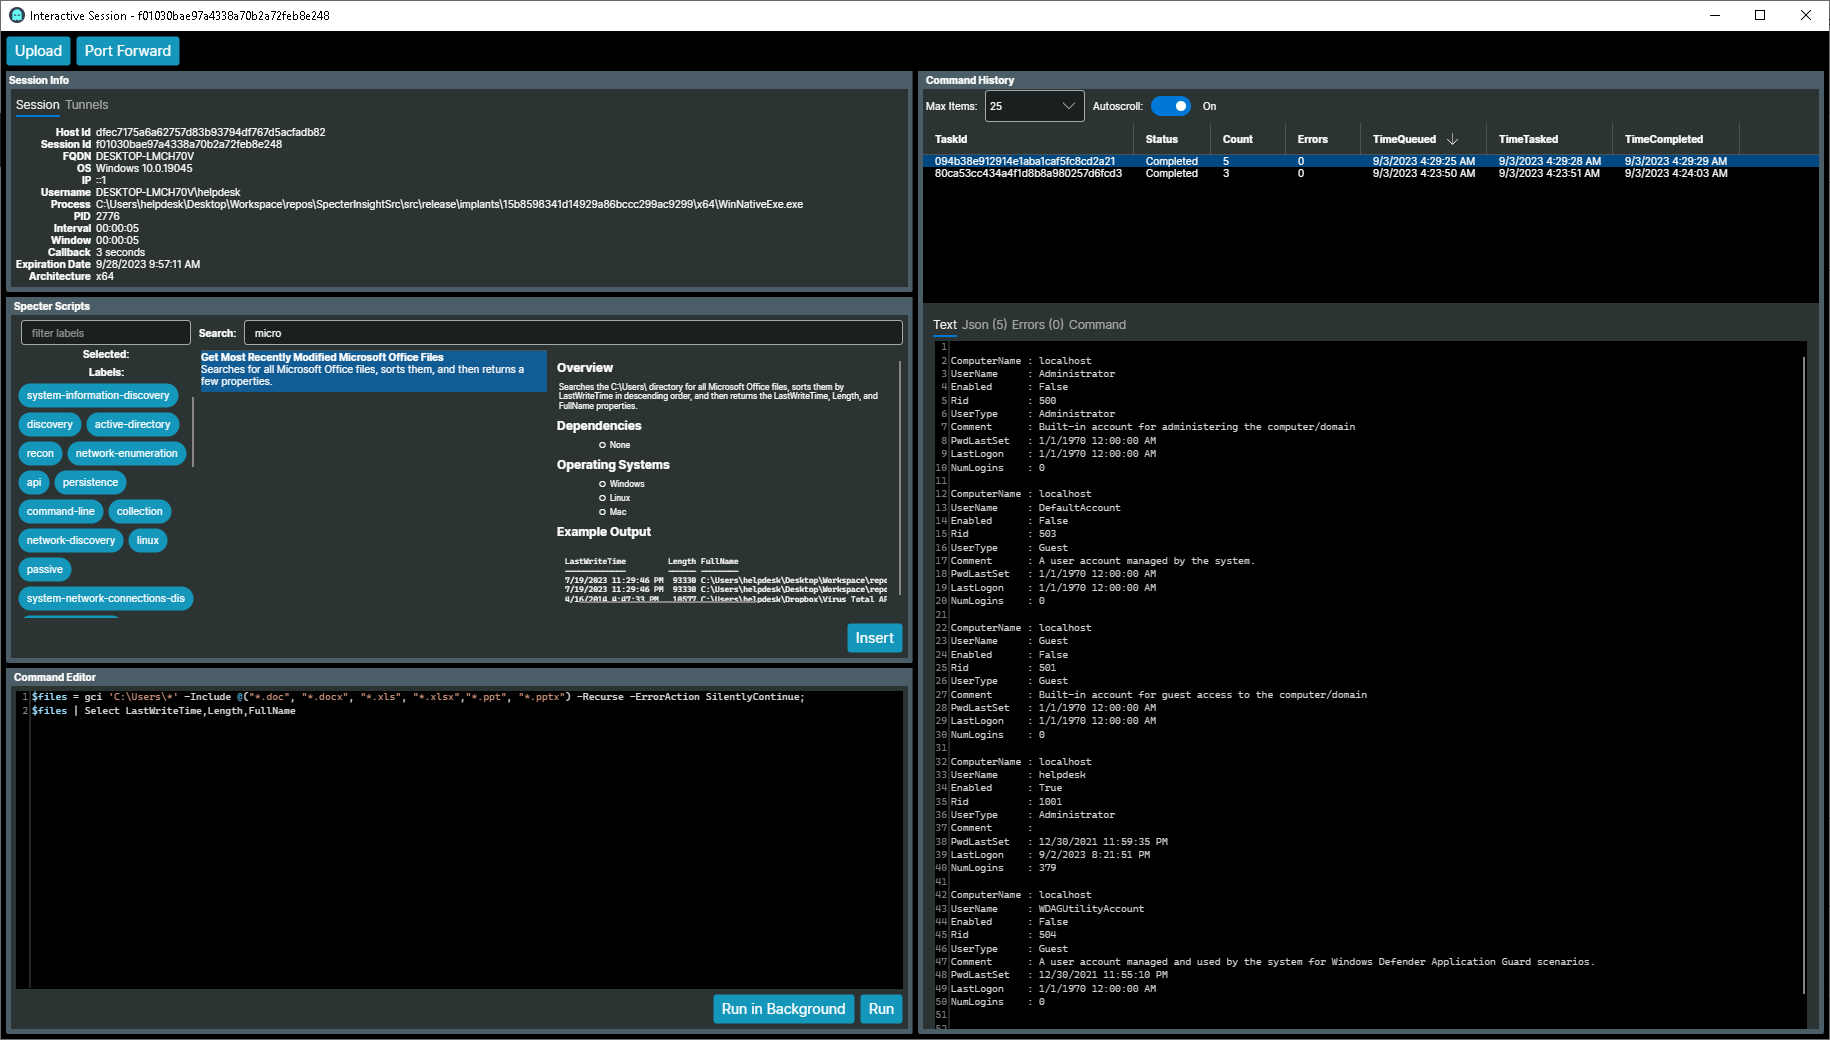
$files = gci "C:\Users\*" -Include @("*.doc", "*.docx", "*.xls", "*.xlsx","*.ppt", "*.pptx") -Recurse -ErrorAction SilentlyContinue;
$files | Select LastWriteTime,Length,FullName
Create a New SpecterScript
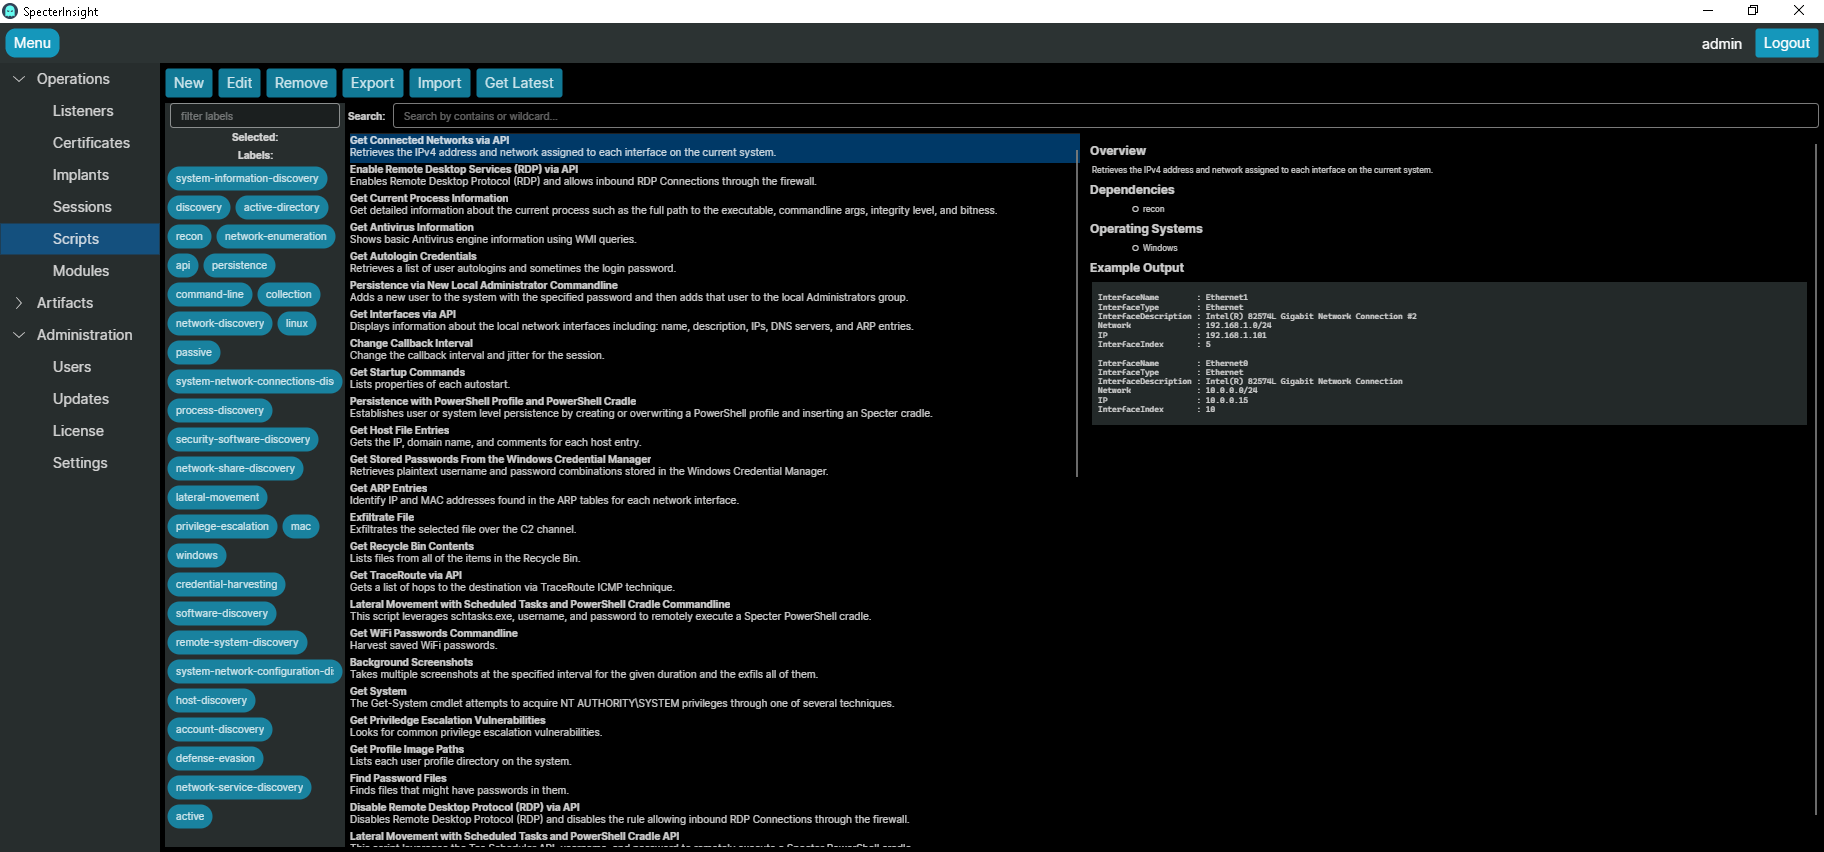
Navigate to the Scripts page in the SpecterInsight UI. From there, click on the “New” button. This will bring up a new window for defining the SpecterScript.
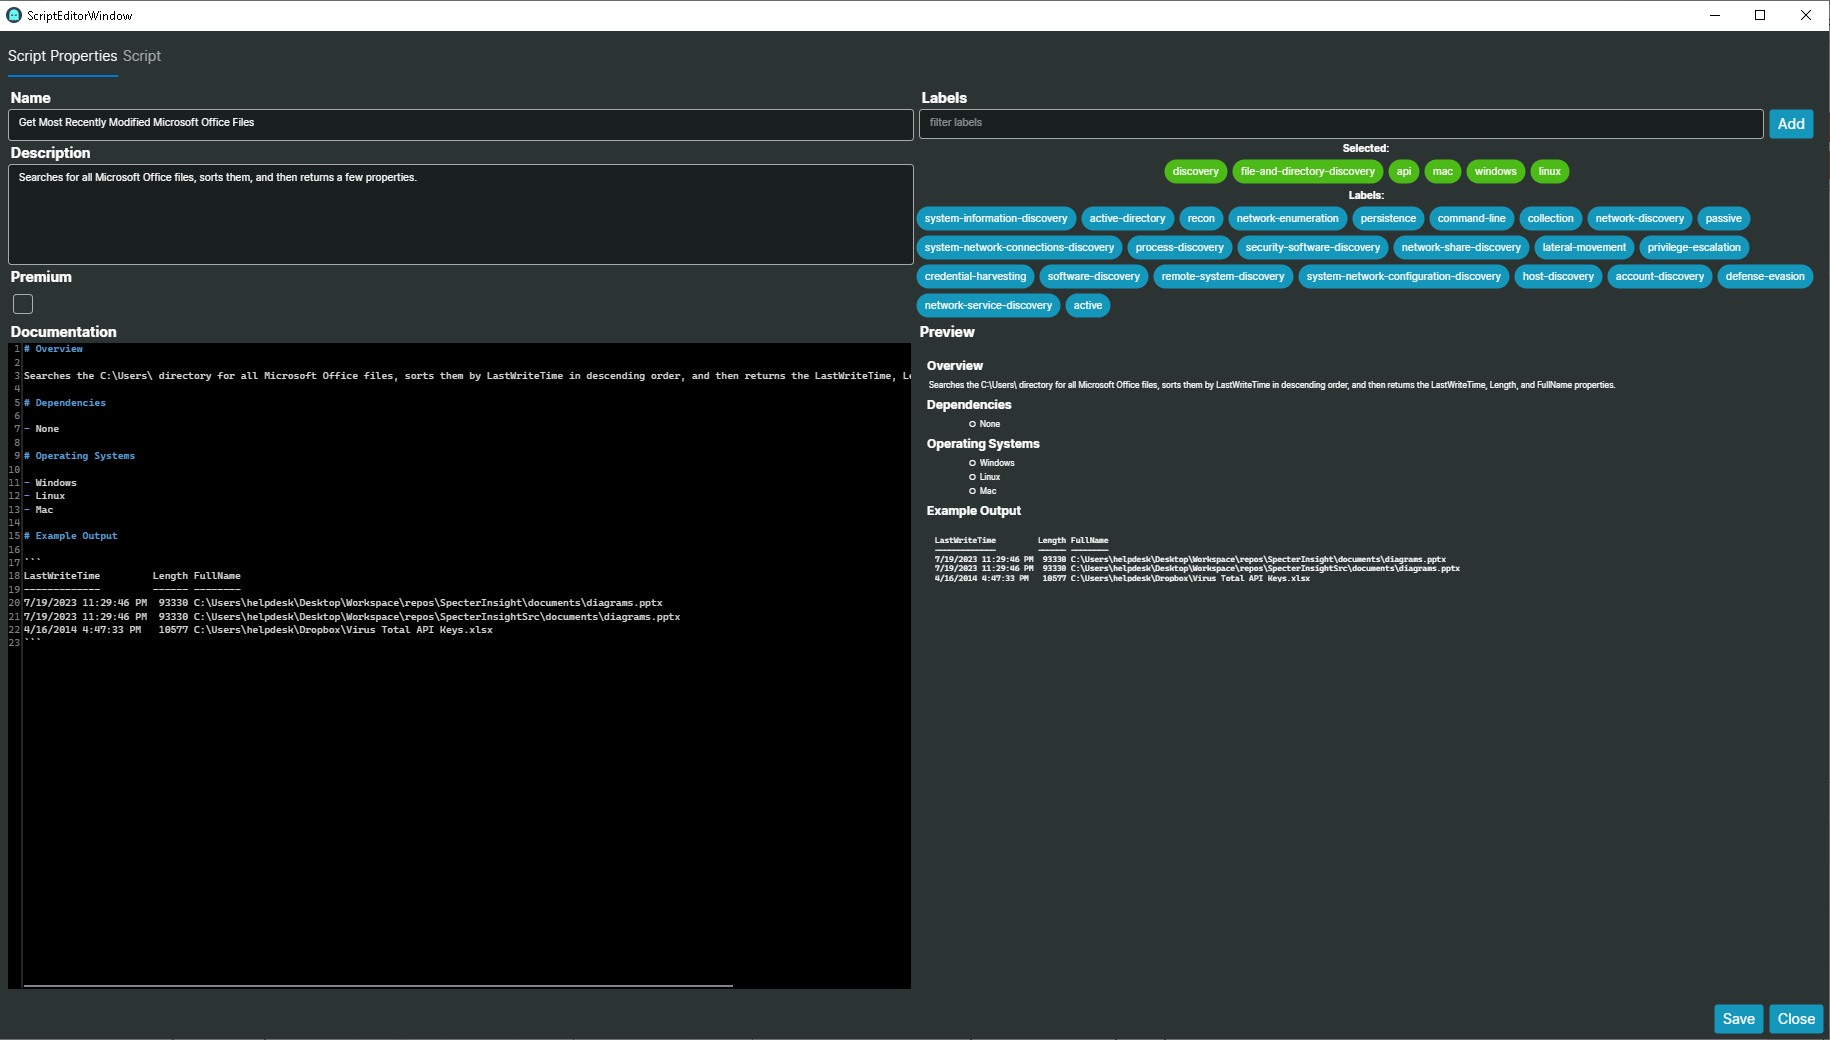
Define the SpecterScript Metadata
Each SpecterScript has several metadata fields that are used for searching and filtering as well as documentation for any other users who might reference these SpecterScript. Here is an overview of the different fields:
- Name: A short name for the script.
- Description: A short and concise description of the script that goes into some detail about what the script does without taking up to much space in the SpecterScript Search Panel later on.
- Labels: A set of labels to aid filtering and searching as well as backend analytics in ELK. At a minimum, you should include labels based on the Mitre ATT&CK matrix. In this case, we’ve added the “discovery” and “file-and-directory-discovery” labels.
- Documentation: The documentation field contains markdown that is rendered when searching for scripts in the SpecterScript Search Panel later on. The following sub-fields are recommended:
- Overview: A detailed description of what the script does and how it does it.
- Dependencies: A list of modules this script depends upon.
- Operating Systems: A list of operating systems this script will work on.
- Example Output: This is probably the most important field as it gives any potential users an idea of what the output from this script will look like.
Define the SpecterScript Contents
To define the actual script, you need to click on the “Script” tab at the top of the SpecterScript Editor. Once there, you can paste your script into the editor input box.
Save the Script
Lastly, you need to save the script by clicking on the “Save” button in the bottom, right-hand corner of the screen. You should see “Success!” message in the bottom of the screen indicating that the script was saved to the server.

Search for the New Script
To test the script, open up an interactive Specter session. Search for the new script in the SpecterScript Search Panel. Here, we simply searched for all SpecterScripts that contain the word “Microsoft” in the title or description.
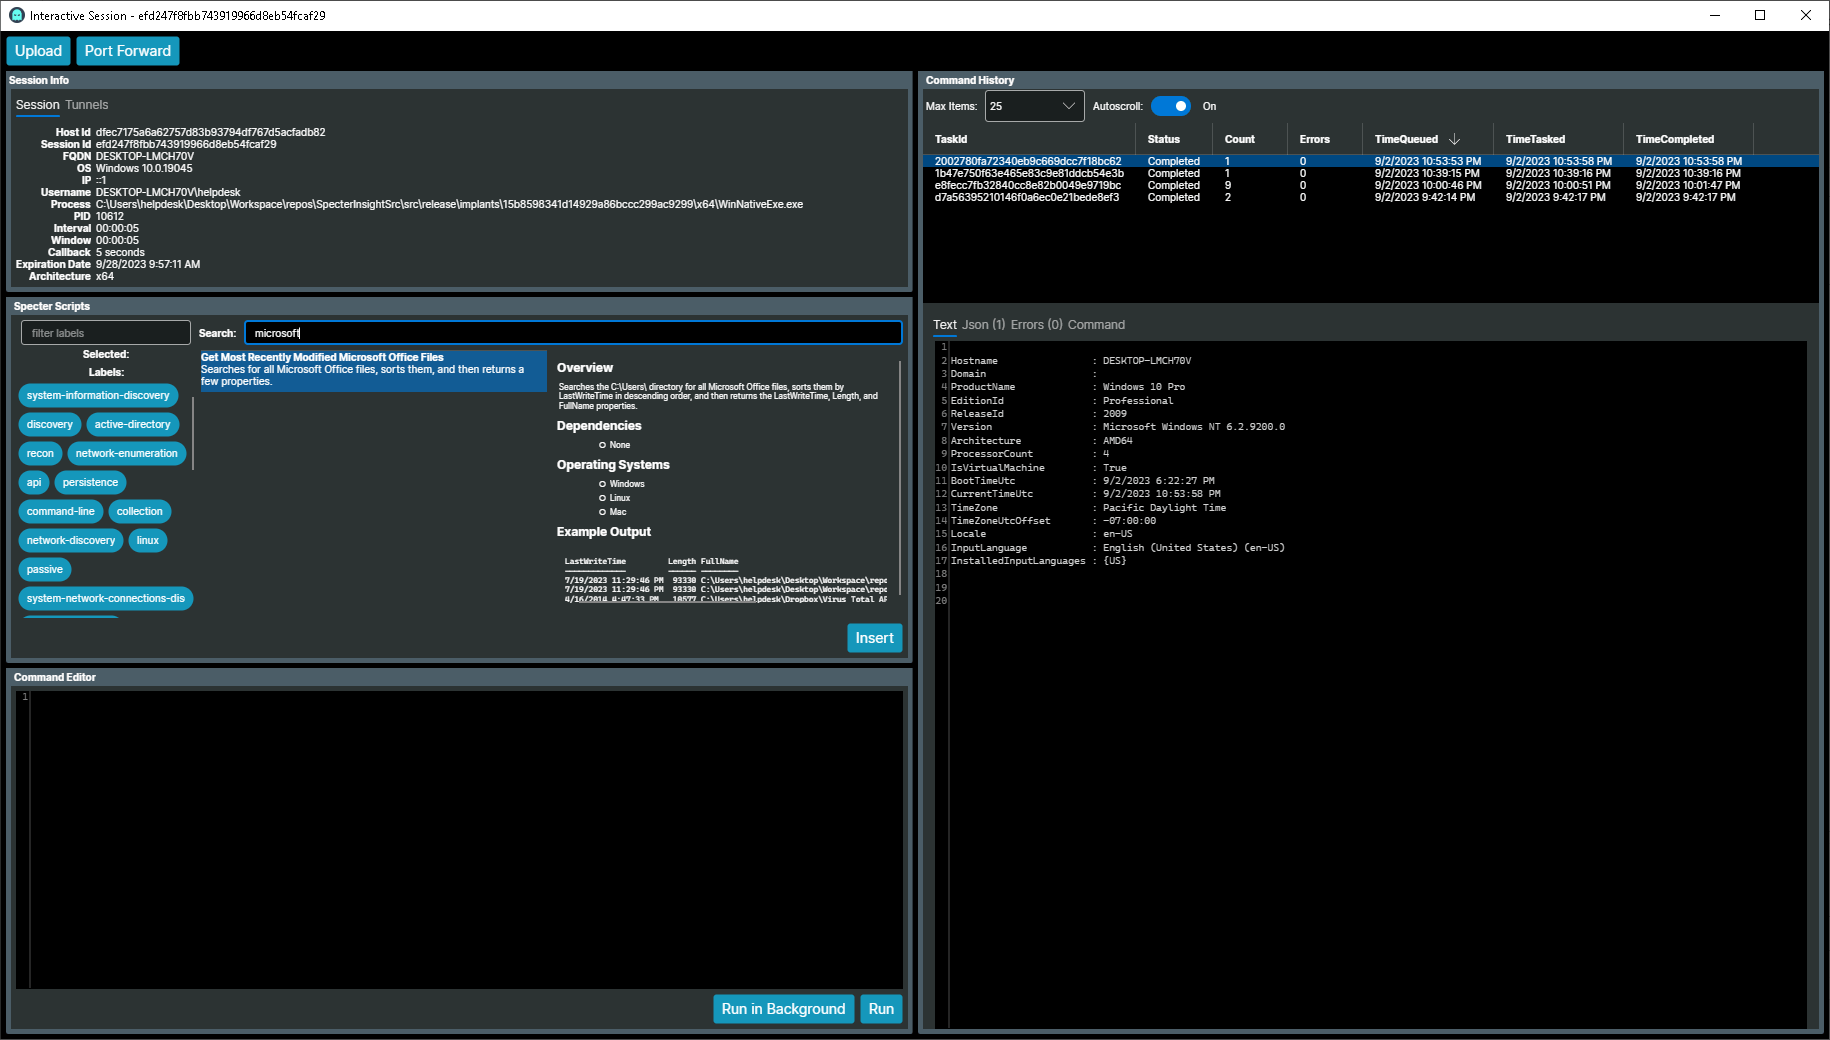
Insert Into the Command Editor Panel
Click on the “Insert” button to add the contents to the Command Editor panel.
Task the Implant
Next, click on the “Run in Background” button to queue the task for the Specter to execute on the next check-in. Once the Specter executes the script, it will return the output which will be serialized back in JSON and converted to text and displayed to the screen.
